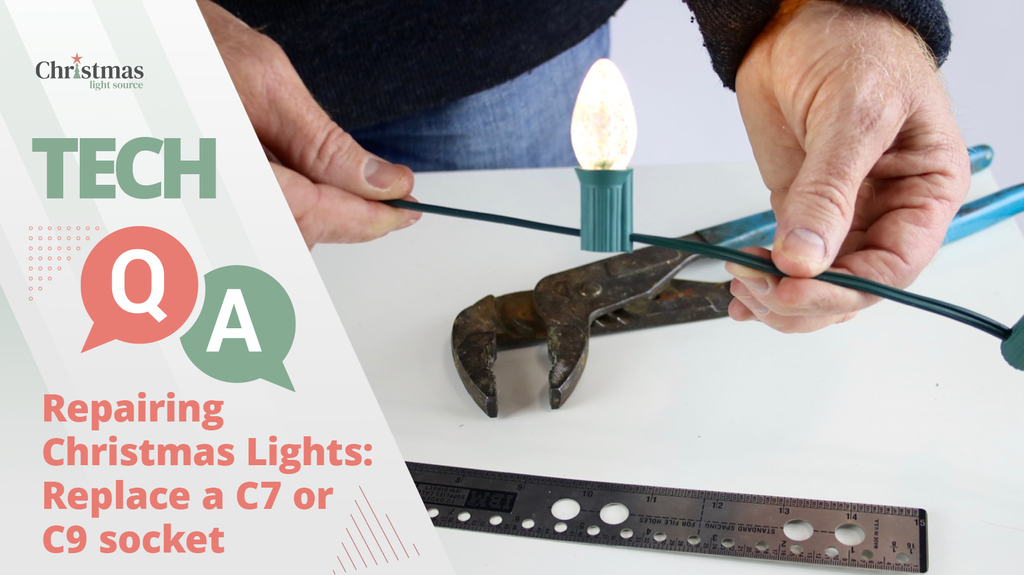
Repairing Christmas Lights: Replace a C7 or C9 socket
One broken or missing socket on a C7 or C9 Christmas light cord can make for an exasperating installation.
Fortunately, there are replacement sockets available to make minor repairs to C7 and C9 cords. We don't suggest you install 100's of these by hand for custom sets but rather consider purchasing a spool with a non-traditional bulb spacing and skipping a socket as required.
Materials required
- Repair sockets to match your cord style and color - these are specifically designed solely for 18 AWG wire. Be sure to match SPT-1 or 2.
- ruler
- washers - the size doesn't have to be exact but look at the photos to estimate your sizes and configurations
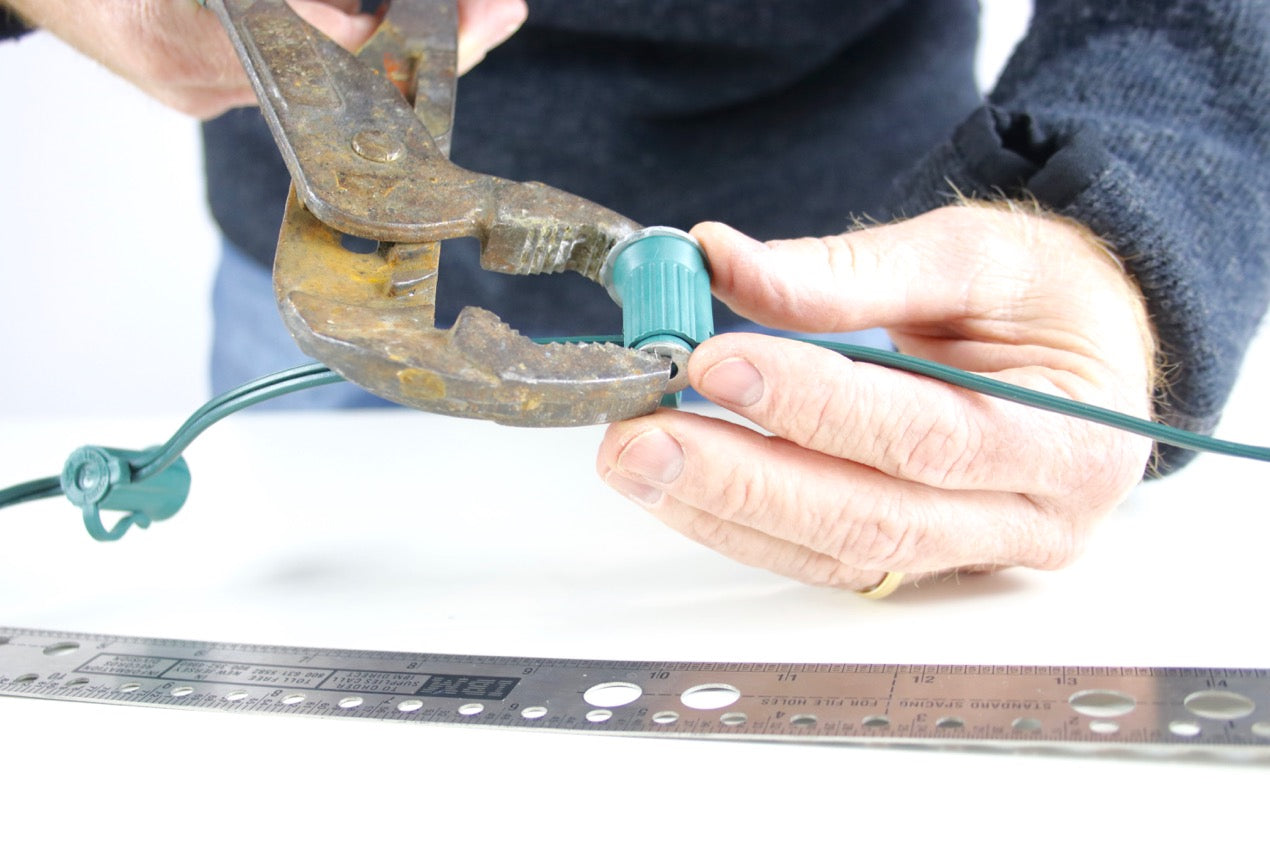
- channel locks
Assemble your materials. After we took this photo, Dave and I had a discussion about well-used tools and what they look like.
Make sure your light cord is unplugged.

If the socket is missing, measure to find where to install the socket.

Line up the base of the repair socket with the measured distance.

Using a washer protects the socket and evenly distributes the force required to puncture the thick insulation on this style of cord.

After you've lined up the socket with the base/cap and added the washer, press hard on the socket with the fleshy part of your palm to somewhat pre-seat the socket on the wire. This will not be enough pressure to complete the installation.

Grab the smaller washer and hold it on the bottom of the socket.

Complete the install by using channel locks to firmly press the contacts of the replacement socket through the insulation into the stranded 18 AWG copper.
Test the installation. Plug the set in, then install a bulb.
Job well done!

Pin this image for later!