Compression Style Rope Light Assembly Instructions

This assembly guide features our LED 2-wire rope light but the instructions are good for all of our rope light spools that feature compression fittings. They will have an -OS in the item number.
If the accessories in this post don't match what you received, head over to the assembly instructions for rope light with adhesive joints.
The Unboxing
Out of the box, your rope light spool will look like this and come with the number of hardware installation setups noted on the product itself. This can change from year to year - both the number and the contents - so look at your product specifications for the items and quantity that will be shipped with your spool.

The accessories.

The assembly
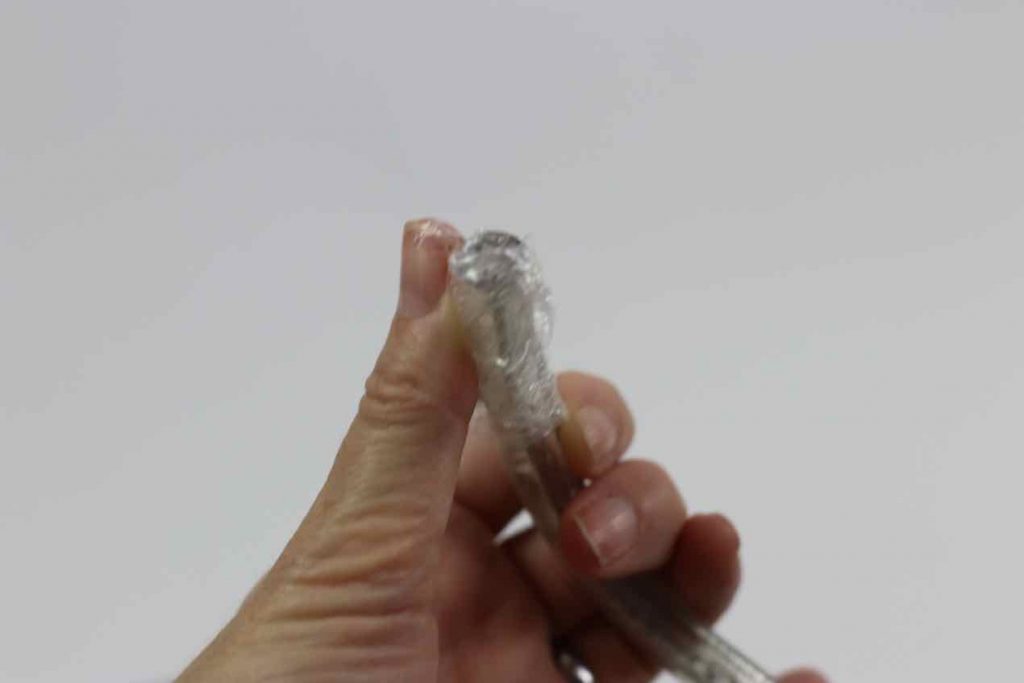
This is what the end of the rope light looks like. Take off the tape. It's just there to keep the dust out.
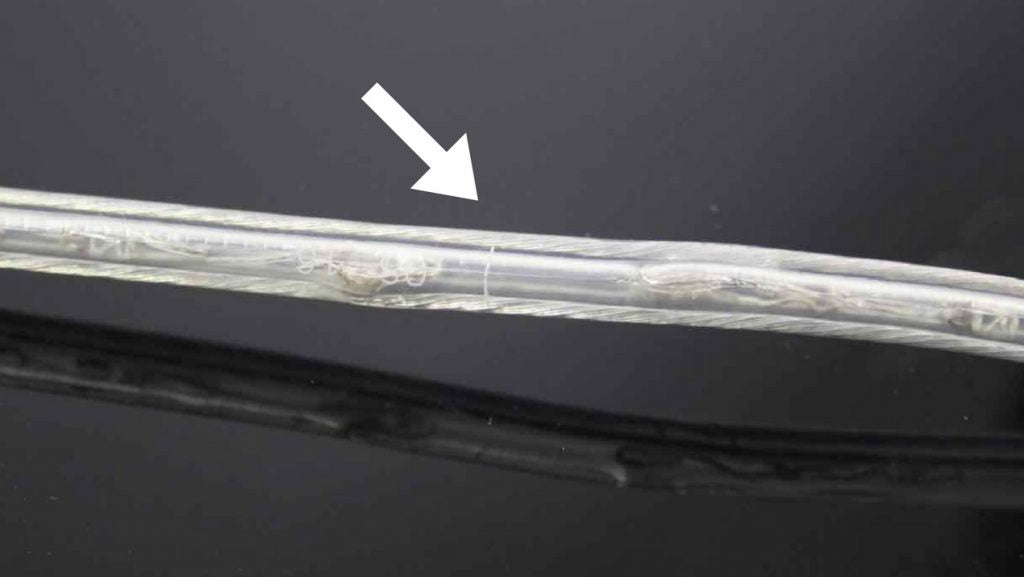
The cut mark.
You can either install the power cord to the end of the rope light spool then unwind it before powering it up or you may need to cut the rope light to fit your project.
See the cut mark if you need to cut your rope.
This is the ONLY place you can cut this rope light. The spacing of the cut marks is listed individually on each spool of rope light and varies within the product families and colors -- so double check your exact spool to confirm the spacing of the cut marks.
(See that little white line?) You can see the slight "gap" in the internal circuitry of the rope light that allows users to cut the line with a sharp, non-crushing blade (we like a box cutter with a fresh blade used with a cutting board).
Cut only here with a clean non-squishing motion.
The cut end should look like this:

Installing the power cord
Slide on the first compression collar.
In your accessories kit, you'll find a collar that you'll slide down over the power connector. That's the first thing you'll want to put on your rope light. You could do this after you install your pin adapter. We like to do it first.
See it here: (You can clearly see that David does not get man-manicures.)

Install the pin adapter into the holes of the rope light.
Don't poke your thumb and you'll have to firmly insert it.
Not your thumb, the pins of the pin adapter get inserted into the holes of the rope light, just to be clear.
Gentle pressure will not to the trick. We all want a tight, secure hold at this junction.
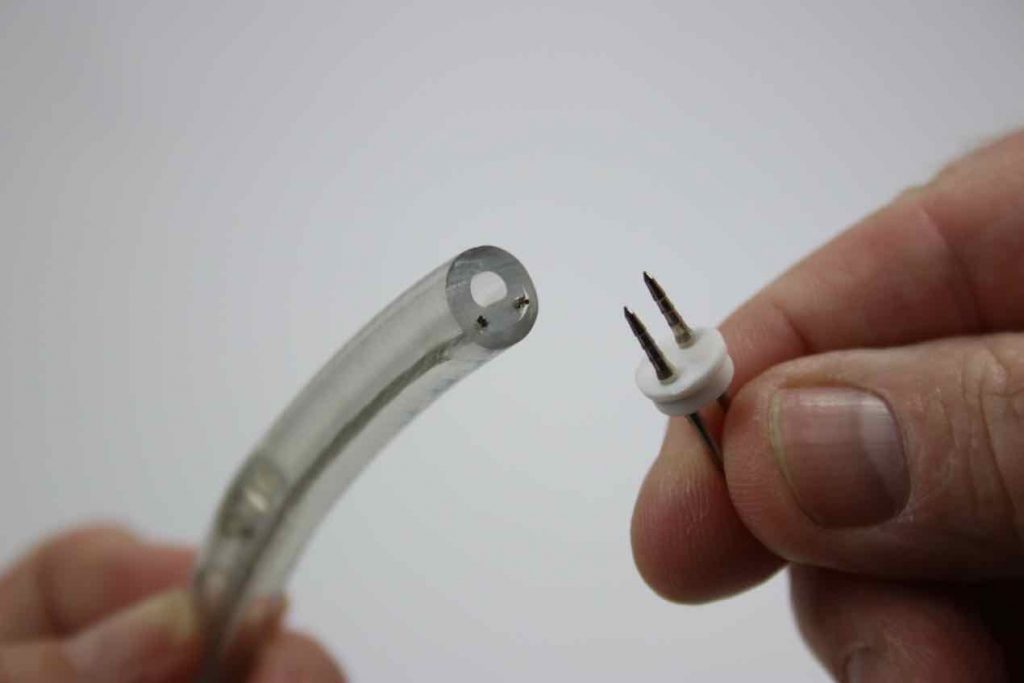


This is as far as it goes into the little holes.

Add the fitting
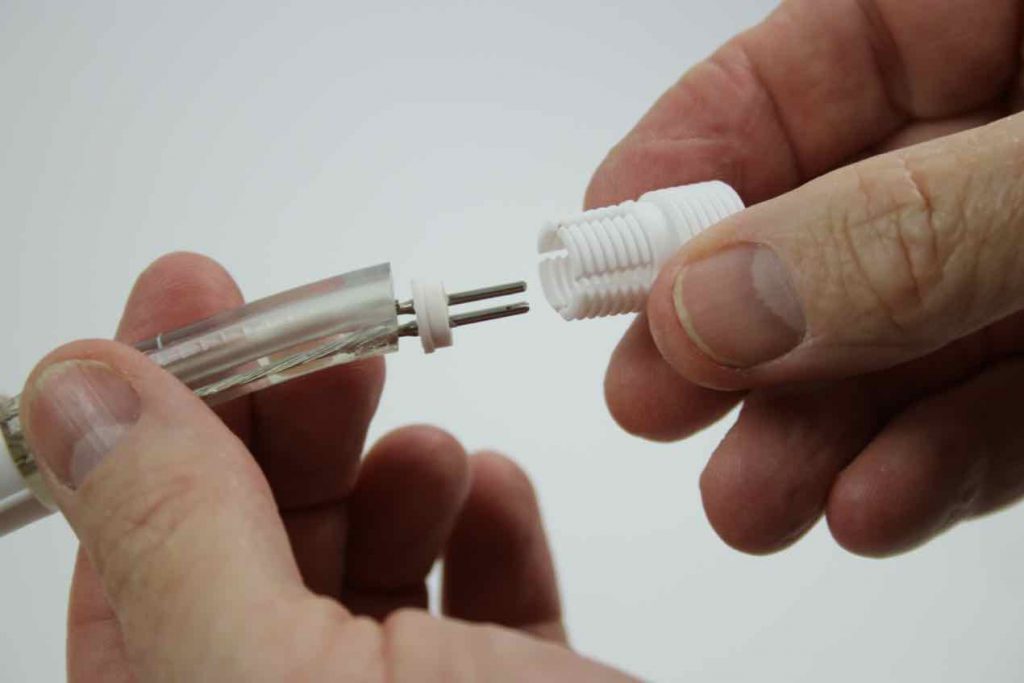
Work it. Work it. This another snug fitting item so you'll have to take a breath and wiggle it onto the end of the rope light.

Start tightening the compression collar onto the fitting.
Make sure you are twisting the collar clockwise. (Right-tightey, lefty-loosey.) Again, you will have to line everything up and be patient with the process.

Install the power cord onto the power adapter.
Line up the holes and pins and press them together.
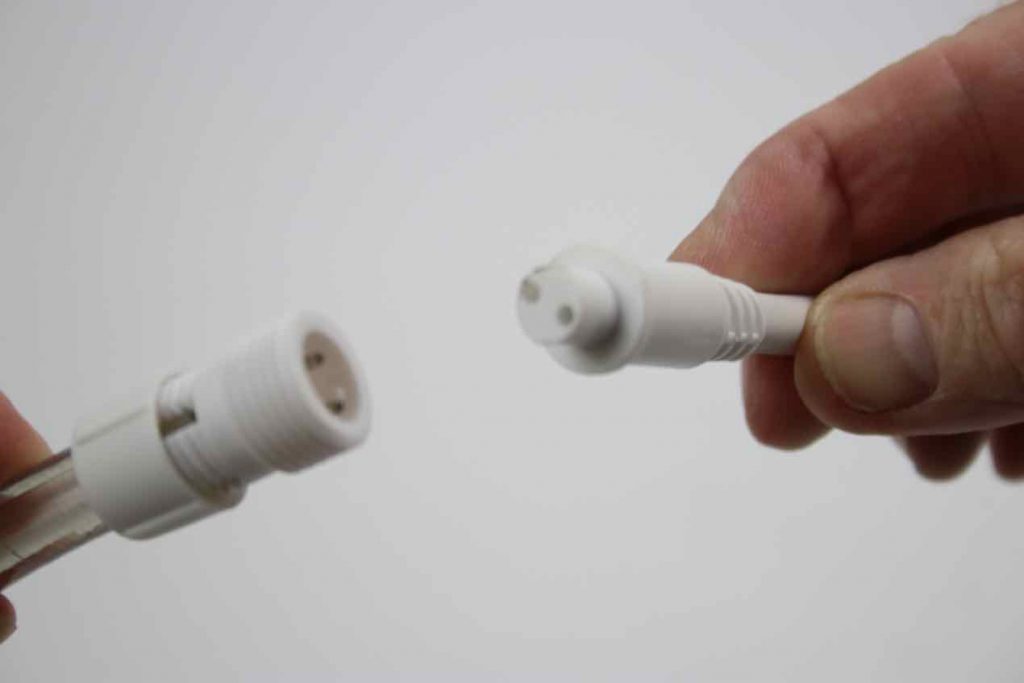
Pause, you are almost finished, and appreciate the process.
Everything should look like this.

Go look for the other compression collar.
It's down there at the end of the power cord.
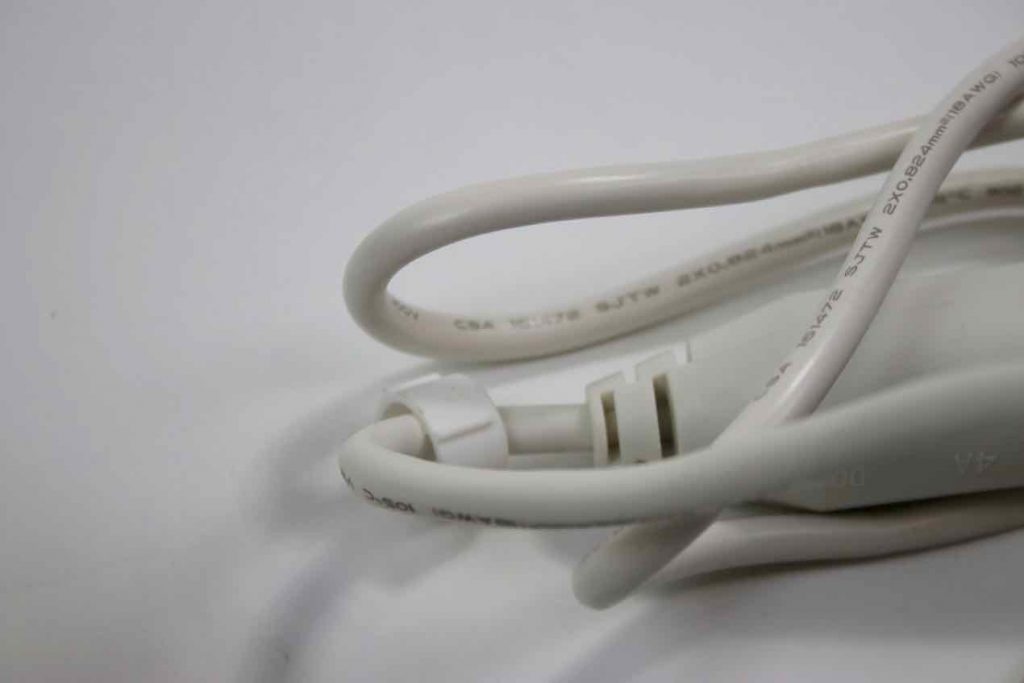
Screw down the second collar.

Tighten everything together.
If you were not able to fully tighten the first collar, now that everything is together a final finger-tightening with the extra leverage provided by the second collar should make it easier to finish this part of your project.
The finished power cord installation looks like this.

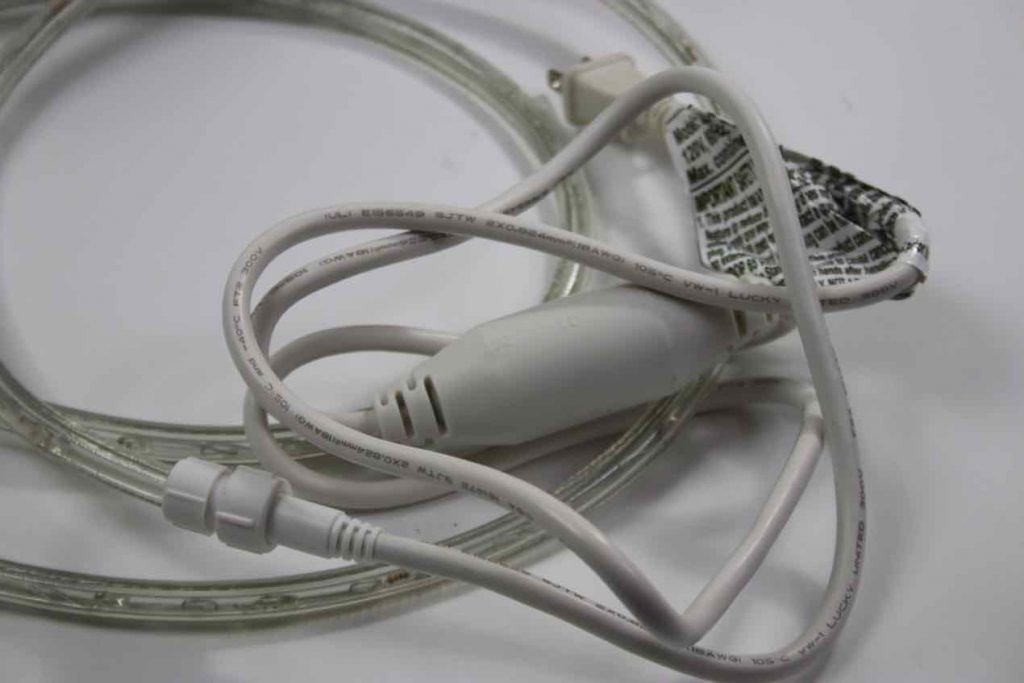
Finished.
All ready to plug in. (After you unwrap the rope light.)
(Be sure to add a rope light end cap to the other end of your rope light section. It's included in your accessories kit.)
If the accessories in this post don't match what you received, head over to the assembly instructions for the new style of rope light with adhesive joints.
If you have found this article to be helpful or have a question, please comment below!