Best Practices for Hanging Christmas Lights
Are you ready to transform your home into a winter wonderland with dazzling Christmas lights? Whether you're a first-time user or a seasoned pro, it's important to follow some best practices when hanging your lights. In this blog post, we'll go over some tips and tricks to ensure that your Christmas lights stay secure and look beautiful all season long.
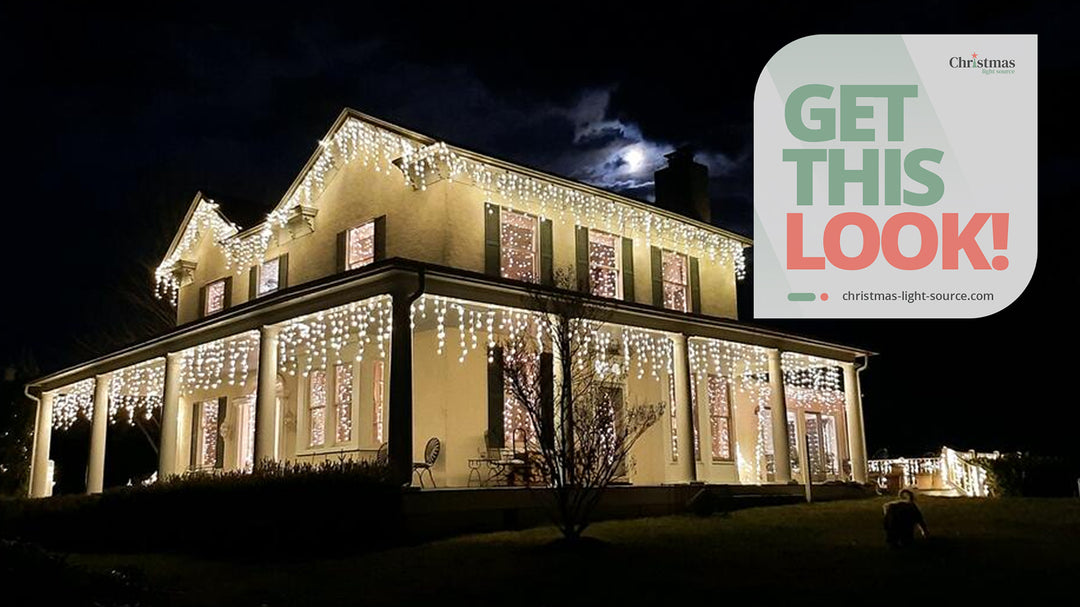
1. Plan your design: Before you start hanging your lights, take some time to plan out your design. Think about where you want to hang your lights and how you want them to look. Sketch out your design on paper or use an online design tool to help you visualize your ideas.
Decide where you want to hang the lights, and measure the length of the area to determine how many lights you will need. Also, make sure you have all the necessary equipment, including clips, plugs, extension cords, and a ladder or scaffolding.
Prepare for the project with appropriate clothing and non-slip shoes. Install lights with a buddy to hand up clips, tools, and steady the ladder. Use proper restraints to prevent falls.
When in doubt about the physical process of hanging lights, call a local Christmas lights installer or roofing company that may be in their slow season for assistance.
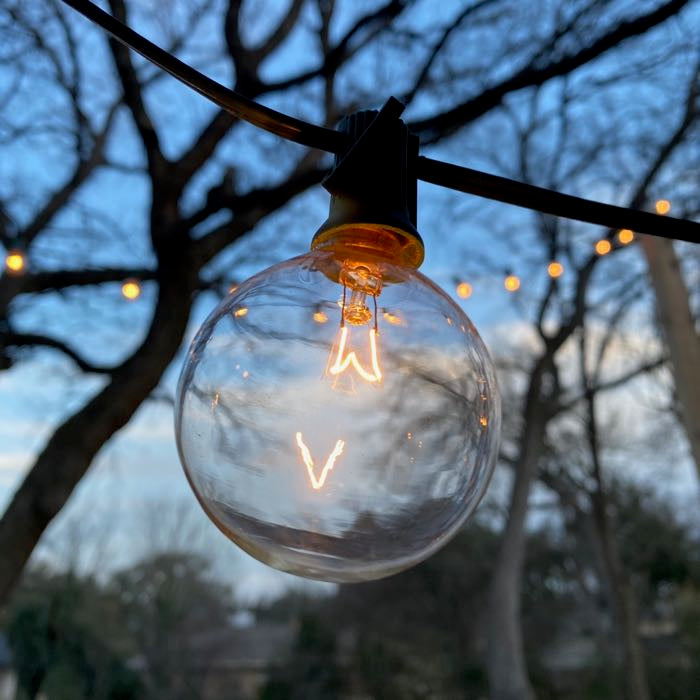
2. Test your lights: Before you start hanging your lights, make sure to test them out to ensure that all the bulbs are working. Gently untangle them, looking for any fraying of wire or broken bulbs. Replace any burned-out bulbs or broken strands before you start hanging your lights.
Install LED bulbs into C7 or C9 cords on the ground before starting installation In many cases, install commercial clips before climbing a ladder or scaffolding so you can focus on installation instead of screwing in light bulbs.
Install glass bulbs on the ground as well but in shorter lengths than LED to reduce the chance of breakage during installation. Keeping breakage in mind, order 10% extra bulbs to have on hand should the job require replacements.
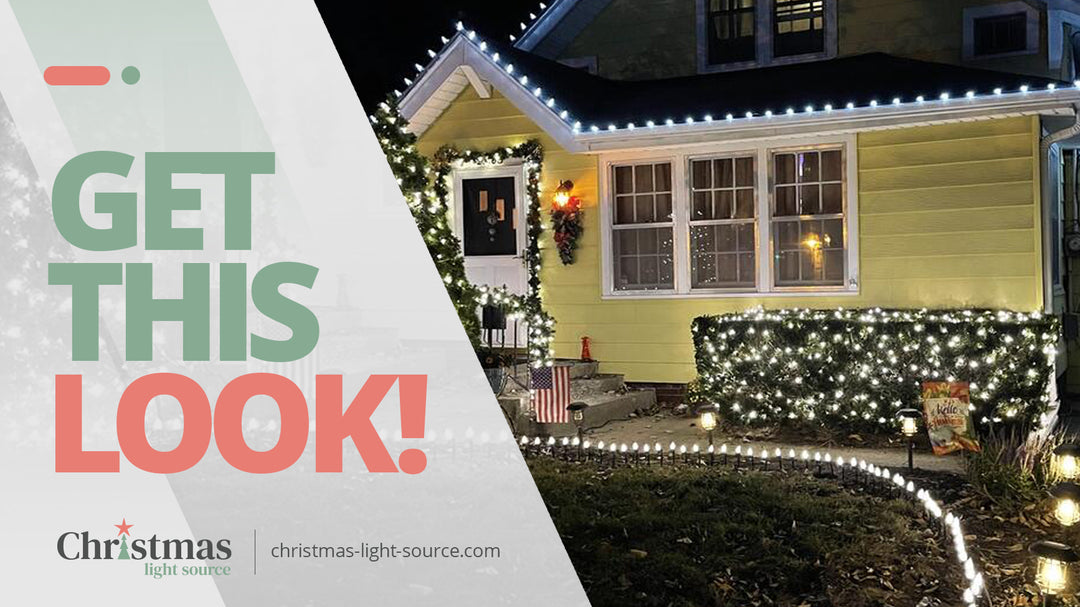
3. Use the right type of lights: Make sure to use the appropriate type of lights for the area you're decorating. Outdoor lights are designed to withstand the elements, while indoor lights are not. Check the packaging to ensure that you're using the right type of lights for your space.
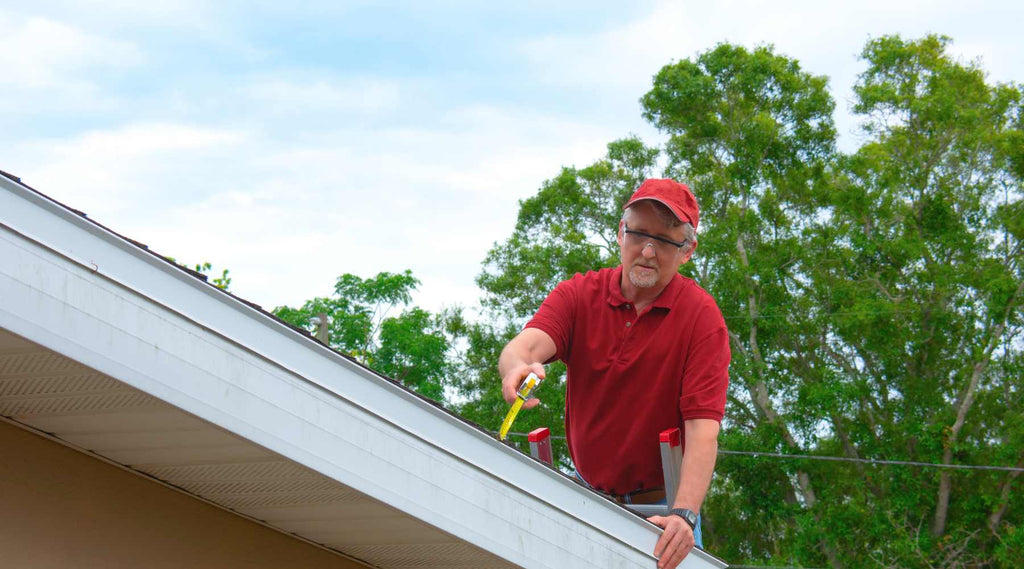
4. Measure before you hang: Measure the area where you plan to hang your lights before you start. This will help you determine how many lights you'll need and where to place them for the best effect.
This measuring has to be close but not exact. "Walk out" the space or measure along the ground.
We also use an innovative way of measuring for lights by using a relative measure. Standing at the street, use a ruler to "measure" how many inches a known length appears to be at a slight distance from the project. Staying in the same place, use the ruler to measure along the rooflines.
If, for example, a 6' tall person standing in the same plane as the end of the house measures 4 inches then 12 inches along a roofline will roughly equal 18 feet. Read more and see photos at this "Using your family to measure for Christmas lights" post.
5. Use the right tools and equipment: Make sure you have the right tools for the job. Use light clips or hooks designed specifically for hanging Christmas lights, and use a sturdy ladder or scaffolding to reach high places. Wear sturdy shoes, jeans and a long sleeve shirt.
Wear a helmet as well as a harness is always good advice if you choose to hang lights more than a few feet above the ground.
Never use staples or nails, as they can damage your wires and potentially cause a fire hazard. It's also important to use extension cords that are rated for outdoor use since indoor cords are not designed to withstand the elements.
6. When hanging the lights, start at the top of the area you're decorating and work your way down. This will prevent the lights from getting tangled or pulled as you work. Be careful not to tug on the wires, which could cause the bulbs to break or the cords to fray.
7. Use extension cords as needed, but be sure to avoid overloading them. Follow the manufacturer's recommendations for the maximum number of lights you can connect to one cord. Overloading can cause the lights to flicker or even start a fire.
8. Call an electrician to check your plan and your work. Consider booking half an hour to an hour of a master electrician's time (especially if you are a first-timer) to verify that your installation plan is electrically sound. Confirm you display doesn't exceed 80% of the current rating of any single breaker or exceed 80% of your total electrical service. Have them stop by after installation before flipping the switch!
8. Safety first: Always put safety first when hanging Christmas lights. Make sure you have a helper to hold the ladder steady, and never hang lights on a wet or icy surface. Also, be sure to turn off the power when installing or removing lights
9. Finally, don't forget to turn off the lights when you go to bed or leave your home. This will save energy and prevent any potential fire hazards.
Hanging Christmas lights can be a fun and rewarding experience, but it requires attention to detail and safety. Follow these best practices to ensure a safe and beautiful display for the holiday season.
Common sense disclaimer: In a world where everyone is ready to sue everyone else, please remember you are installing Christmas lights at your own risk. We cannot take responsibility for any accidents that might occur. Use all precautions and stay safe out there. Please see our Legal Disclaimer for more information.